Tuesday, May 26

Tiny Tummies

This is a shout out to all my little friends with Tiny Tummies...and the wonderful people who feed them.

As a parent, I want delicious...homemade meals and treats for my little squirt. He's also at an age where I think it's important for him to help with the process of preparing them. It keeps his hands busy, his mind occupied, and my sanity intact (all while creating moments I'll forever treasure).

Here are a few of our family favorites that are yummy and oh-so-easy!

1. Pecan Pie Muffinettes


5. Cricket Cookies


6. Graham Banana Bites


 10. Peanut Butter Toast Balls


11. Owl Toast


12. Zoom Zoom Fruit


Stay tuned, tiny tummies...more to come!

Thursday, May 21

The Gift of Correspondence

Looking for the perfect wedding gift? How about a Correspondence Crate?

Mixing bowls and hand towels are on their registry but you want something a bit more personalized (and let's face it, more CREATIVE). Why not provide the happy couple with a massive amount of greetings? You can make sending their first "thank you" easy by including a variety of gratitude cards. They can scribble a "just thinking of you" on their new personalized stationery, and seal them with a few initial envelope seals.

It's the quintessential "gift that keeps on giving"!

 
Ideas for items to include:
Thank you cards
Blank inside cards
Happy birthday (generic) cards
Sympathy (generic) cards
Thinking of you cards
Monogrammed stationery
Envelope seals
Letter openers
Colorful writing pens
Stamps
 
I found this cute chalkboard crate at Hobby Lobby for 50% off . The goodies inside, I collected from a few different retail establishments (the Mr. & Mrs. truck cards are from Reeds & Ink Designs). The shower was a display shower, so no wrapping required. Genius!
 
A little burlap and an adorable bow were the perfect finishing touches! Don't forget the stamps, it's an added expense but makes the whole mailing process much easier for the happy couple.


A cheerful addition to the gift table too, don't you think?
 
This is also an excellent idea for new moms, graduates, teacher appreciation, etc. A gentle reminder to "be crate-ful"!
 
Happy Thank You Thursday, friends!
 
 
("Be crate-ful" credit goes to the crazy creative, Steve the Great!)

Wednesday, May 20

The Simply Fabulous $6 Sign

A friend and I recently hosted a wedding shower for a sweet pal of ours (stay tuned for more photos). Her colors for the big day are metallics and neutrals, which I find very exciting. Sparkle, shine, repeat!
 
With the shower planning in full swing, it gave me an excuse to spend unacceptable amounts of time on Pinterest. Happy dance!
 
I was in love with the idea of initials on the mantle as a sparkly "welcome to the festivities" message. However, when putting my plan into action, I was a bit discouraged. Even the most inexpensive letters (times three) were more than I wanted to pay with all the other glitter décor we had planned.
 
So, I improvised and here's what my super-duper-frugal-self came up with...a simply fabulous $6 sign.
 
It definitely made a statement without breaking my piggy bank. Mission accomplished!
 

Items you'll need:
1 Foam Board (your preferred size)
1 Ampersand (if needed)
Glitter
Elmer's Glue
Duct Tape
Pencil
Ruler

To start, I measured the height of the board and calculated the distance between each stripe in order to make them centered. Instead of painting (and since the bride's theme was metallics), I chose to use duct tape as a much easier and faster option.


My design included the initials of the happy couple with an ampersand (&). I purchased the ampersand from a craft store for 50% off. SCORE! To make sure they were also centered, I measured the width of the board and ampersand. This gave me an idea of how large the letters could be.

I then sketched (you can also trace them from a template) the letters.


Next, I traced the letter outline with Elmer's glue, filled in the letter, and topped with glitter. Then a little more glitter.


And the grand finale of lots more glitter.


When both letters were glued and glittered, I set it aside to dry overnight.


Finally, I attached ampersand with hot glue and taaaaaaaaaaaaadddaaaaaaaaaaaaaaaaa...FABULOUS!

Look at her shimmer! It's a job well done!

 
Inexpensive, fast, and perfect for any type of celebration!
 

Wednesday, May 13

The Power of a Cookie


Tuesdays are story and craft time at the local library.

Little Man is usually pretty excited about attending. This time was a bit different and I should've known better by his reluctance to go.

Between the ants in his pants, his very short attention span, and his inability to use his "inside voice", I was praying for reading time to conclude and craft time to begin. I'm sure it was only ten pages but that book seemed like the children's edition of War & Peace!

Finally, as if reading my mind, the woman uttered the words I'd been longing to hear, "The end".

Whoosh, surely glue sticks and sequins will keep him interested.

As I'm searching for a paper beak to adorn his spring chicken, he begins a kicking match with the boy to his right. It was quickly diffused by the "mommy look".

A few minutes later, a heated "no...stop...no" conversation with the girl to his left. OH, GOOD GRIEF!

The final straw was when he smacked said girl for trying to steal his chicken wing (this stupid bird is going to send me straight over the edge).

And yes, you guessed it...what came next was a standard mother/son "trip to the bathroom". I'll spare you the details but let's just say he had a completely different attitude when we emerged.

With a somewhat sincere "sorry" to the now pouting little girl, we grabbed our partially deformed chicken and headed to the car.

On the way home, we further discussed his misbehavior. When asked why he acted with such defiance, he promptly responded...

"Mama, I just needed a cookie!"

And there you have it folks, even toddlers get "hangry" (hungry and angry).

While my outside was trying to enforce discipline, my inside was screaming "I HEAR YA, BUDDY!"

Never underestimate the power of a cookie!

Tuesday, May 5

Cinco de Mayo Salsa

The only true way to celebrate the 5th of May is by consuming large amounts of salsa (and sopapillas, but my unhealthy addiction to carbs is a completely different post).

Am I right?

I've posted my favorite salsa recipe before but this little gem is a close second. It's so delicious, I might be able to serve it with Super Hunky Tacos and convince the boys to join me in wearing sombreros.

Chances are slim but I'll keep you posted!

Enjoy!


Ingredients:
1/2 cup whole kernel corn
1/2 cup black beans
1 can chopped green chiles
1 can fire roasted tomatoes, diced
1/8 cup water
1 teaspoon sugar
1 teaspoon chili powder
1 teaspoon onion powder
1/2 teaspoon garlic salt
2 tablespoons cilantro, chopped
1/2 teaspoon lime juice
Dash of paprika
Dash of cayenne pepper
Salt & black pepper to taste

Slowly pulse tomatoes in food processor until chunks are slightly blended. Add to medium mixing bowl with corn, beans, and green chiles. Stir.


Add spices and continue stirring until thoroughly mixed.


Lastly, add lime juice and mix.


Refrigerate for about 30 minutes before serving. Combine with your favorite chips and dig in!


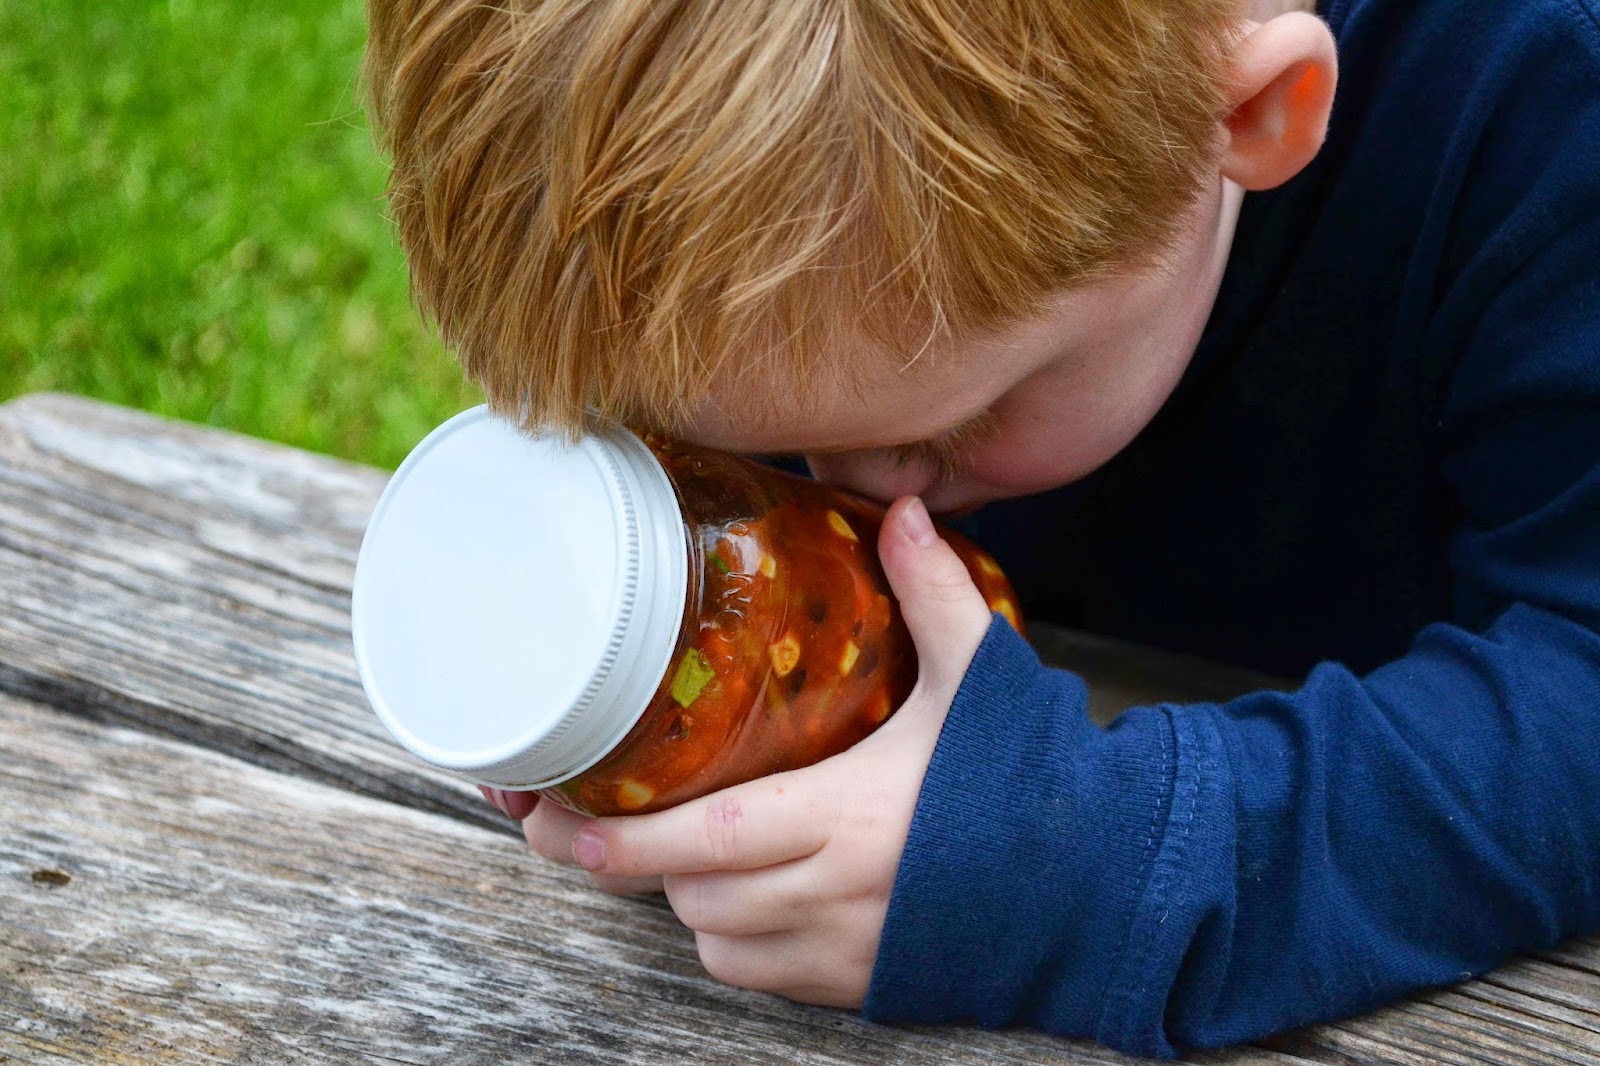
Yes, to say Little Man LOVES this is a gross understatement. In fact, this is him saying "Lord, please let Mommy stop photographing so I can EAT!


Because I love it so very much!"


I'll have a hamburger on Cinco de Mayo, said no Juan ever! HA!

Have a wonderful 5th of May, from our family (hopefully, wearing sombreros) to yours!

Monday, May 4

Crock Pot Lasagna

Yesterday was my weekly meal planning day. Before you roll your eyes and judge me for being one of "those" moms, let me clarify. Sunday is usually the day where I glance at the calendar for the coming week and plan the nights that will call for my trusty slow cooker (or cereal). Five minutes of list making and the week goes much more smoothly!

Crock Pot Lasagna is a family favorite and makes enough for two days of leftovers...SCORE!
I don't usually make lasagna unless I have a good amount of uninterrupted time...can you sense my sarcasm? Let's face it, it's a bit labor intensive.....browning, mixing, boiling, more mixing, straining, more mixing, layering....you get the big, exhausting idea!

Here's the solution for your lasagna craving, without all the fuss. The only difficult part is trying not to eat the whole thing by yourself!

Good luck with that! :-)

 
Crock-Pot Lasagna
  • 1 lb ground beef (you can also use pork sausage to add a little more flavor)
  • 1 pkg (8 oz) sliced mushrooms, rinsed 
  • 2 large carrots, peeled and grated
  • 1 zucchini (8 oz), trimmed and grated
  • 24 oz marinara sauce (see Meatball recipe for marinara sauce recipe)
  • 1 container (15 oz) cottage cheese
  • 7 oz mozzarella cheese
  • 1/2 cup parmesan cheese
  • 1/3 cup fresh basil, chopped
  • 12 traditional lasagna noodles, uncooked 

Coat crock pot with nonstick cooking spray. Place ground beef into a nonstick skillet and cook over medium to medium-high heat until cooked thoroughly.


Meanwhile, back at the ranch, combine mushrooms, carrots, zucchini and 1 cup of the marinara sauce. Stir remaining sauce into the beef.


In a medium bowl, stir together cottage cheese, 1 cup of the shredded cheese and the basil.

(Well, this is not my greatest photographic work...and I forgot to add the basil.)
Begin layering: Break 3 noodles into thirds and spread on bottom of crock pot. Top with half the vegetable mixture, spreading level, and 3 more noodles, broken into thirds. 


Spread noodles with meat sauce and top with 3 more noodles, broken into thirds. Spread noodles with cheese mixture and remaining 3 noodles (in thirds). 


Repeat layers until mixtures are gone. Top with Parmesan cheese.

Cover and cook on low for 3-4 hours.


Isn't she lovely (you're singing it now, aren't you)?

Until we slow cook again...

(Little Man says "Mom, you're a good cook"! I need to give credit to the crock pot but I just don't have the heart...look at this face!)
(Original recipe from FamilyCircle.com)

Friday, May 1

Baby, it's in the BAG!

Babies, babies, everywhere! I have five friends scheduled to deliver little people in the coming months. With so many tiny fingers and toes on the way, a few of you have requested a REAL LIFE "things to pack" list for your hospital bag.

Yes, I know...soothing music and focal points are essential for some but I was more concerned about my huge granny panties being exposed and figuring out the best way to breastfeed without the world seeing "the girls" (call me modest)!

Here's my disclaimer, I had a C-section so my experience was a bit different. If you had a...eh hem..."vaginal" (why does that word still make me blush) delivery, comment below with items I may have overlooked.

Here goes...


While cell phone chargers, cameras, and toiletries are essential...here are a few items I found helpful...that no one told me about!

Snacks - our hospital had WONDERFUL food but it was a little pricey for this Mama! Looking back, I wish I would've packed more snacks. While I had more things on my mind than sustenance (I know, SHOCKING), Super Hunk's appetite was in overdrive. Those few bags of trail mix I packed disappeared into the abyss that is his hollow leg on Day #1. (PS. If you don't want to resemble a pack mule and haul in a load, at least take a roll of quarters for the vending machines.)

Thank You Notes - Again, I had a C-section which required me to spend a few more days in the hospital. Between breastfeeding and blood pressure checks, there was quite a bit of down time (new little people do A LOT of snoozing). There were so many people to thank, I was kicking myself for not packing thank you notes and maximizing my "mandatory rest" period. WHAT WAS I THINKING? From visitors to an amazing nursing staff, there was a long list of gratitude to send.

Boppie Pillow - Learning to breastfeed was literally comical for me (most things are). By the time Little Man and I got in a rhythm, I seriously felt like we had completed a monumental task. In the hospital, I used regular pillows to prop and when I got home, I switched to the Boppie. Needless to say, it wasn't a seamless transition. There may or may not have been a few "baby rolling overboard" incidents. Shhhhhhhhhhh! He was fine!  Looking back, I wish I would've packed my Boppie from the start.

Pads, Pads & More Pads - From nursing pads to sanitary pads, you feel a bit like you're wrapped in fluff. Seriously, if you were in a person-to-person collision, you'd walk away without a scratch (padding, so much padding). A bit of advice, pack your own! The hospital is accommodating and provides them for you (at your cost) but trust me when I say, you could straddle a twin mattress and it would be more comfortable.

Nursing Camisole - Much like you, I did my research and read numerous articles about what items to pack. So many recommended I take my own nightgown. Looking back, I say "nightgown, shmightgown". If it's not exactly perfect, it's more of a nuisance than a comfort. Too long and you're constantly twisted like a full body straight jacket. Too short and...well...hello, lady parts! If it opens at the top to allow for breastfeeding, ALL of you is out there for the world to see (and your visitors from church). So take my advice, go with a nursing cami. They're extremely comfortable (for day or night), less revealing for feeding your always hungry newborn, super "supportive", and easy to layer when hot or cold (stupid hormones). Go crazy, buy yourself a couple...I promise, you'll use them for many months to come.

Fun Fuzzy Socks - No matter what time of year you deliver, hospitals are cold (run, germs...run). I was told to pack slippers, partially for comfort but also to keep from walking on the hospital floor (eeekkk). However, as a I stated above, my C-section didn't allow for bending (or sneezing...or deep breathing). Most of the time, I needed assistance putting them on and taking them off. I often wished I would've packed socks instead.

Hat For Baby - Yes, a going home outfit is important but don't forget an extra hat. Babies lose quite a bit of heat from their little noggins. My tiny bundle of joy was not so tiny...nor was his noggin. The hospital provided a complementary hat but I'm here to tell ya...one size DOES NOT fit all. I spent more time trying to keep the thing on and wondered if the Mom in the room down the hall was having the same dilemma. Take your own (in a few sizes).

Blanket for Daddy - Roll it up and stick it with your Boppie. The hospital will provide one but if your hunky hubby is tall like mine, it only covers his top half OR bottom half...not both. Poor Daddy! Do him a favor...show him you love him...and pack that poor man a blanket. He's sleeping on a convertible sofa for cryin' out loud!

Congrats, soon-to-be-mommy! Enjoy every moment (the old saying is true, time flies), write it all down, and take comfort in knowing there's an entire population of women just as tired as you! :-)